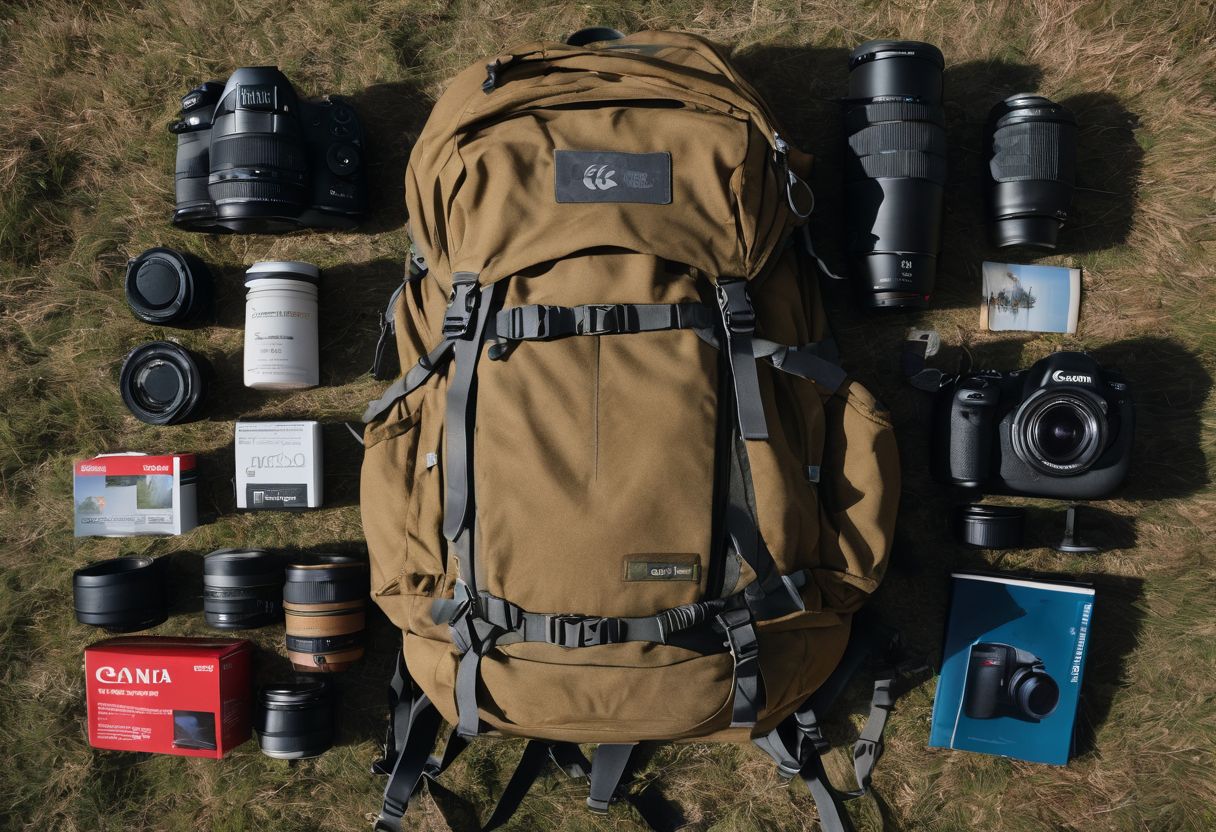
Embarking on a new adventure often means relying on your trusty rucksack to hold all of your essential gear. But what happens when it’s the backpack itself that needs some TLC? As an experienced outdoor enthusiast with years of mending and maintaining my own equipment, I’ve faced numerous challenges along the trail — from torn fabric to busted zippers.
This hands-on know-how has taught me that many common backpack problems can be fixed with simple DIY repairs, ensuring your gear is always ready for what lies ahead.
Equipped with just a few basic materials and techniques, you can breathe new life into your favorite ruck without needing professional help. Did you know that carrying a repair kit could save you from unexpected strife in the wild? It’s true! Plus, this article will serve as your ultimate guide to mastering material maintenance, equipping you with practical knowledge and confidence.
Get ready to discover handy fixes that’ll keep those adventures rolling!
Key Takeaways
- Repair fabric tears or holes in your backpack by sewing the edges together with a needle and strong thread, using duct tape for temporary fixes, or patching larger rips with fabric patches and industrial adhesive.
- Fix shoulder strap issues by carefully sewing any tears or rips with strong thread, reinforcing the repair with duct tape, and considering using industrial adhesive for added strength.
- Address broken zippers by attempting to realign the teeth gently, applying lubricants like candle wax or bar soap, and if needed, replacing the zipper carefully matching its size and style.
- Easily replace broken buckles on your backpack by finding replacement parts at outdoor or hardware stores and securely attaching them using simple tools like pliers.
Common Backpack Repair Problems
Fabric tears or holes can occur in backpacks, along with shoulder strap issues, broken zippers, broken buckles, and damaged mesh parts.
Fabric tears or holes
Fixing tears or holes in a backpack is simple. You can use a needle and thread to sew the edges of the tear together. Make sure your stitches are small and close so the repair holds well.
If you’re out in nature and need a quick fix, duct tape can cover up the hole until you get back home.
For those bigger rips, patching might be the best choice. You can find fabric patches at stores or make your own from spare material. Sew them over the damaged area for extra strength.
If sewing isn’t an option, strong adhesive designed for fabric repairs will also do the job well. Always cut the patch larger than the hole to ensure it covers completely and sticks securely around all sides.
Shoulder strap issues
To repair shoulder strap issues, start by assessing the damage. If there are rips or tears, use strong thread and a needle to carefully sew the damaged area. Reinforce the repair with duct tape for added strength.
Consider using industrial adhesive for an extra secure fix. It’s crucial to choose durable materials and practice proper sewing techniques when repairing shoulder straps, ensuring that your DIY fix holds up during your next outdoor adventure.
Broken zippers
To fix a broken zipper on your backpack, start by gently realigning the teeth and trying to zip it up carefully. If that doesn’t work, apply some candle wax or bar soap along the teeth to lubricate and help the zipper slide more easily.
Remember not to force it if it’s still stuck; this could worsen the problem. Instead, consider using needle-nose pliers to try and fix any misaligned teeth. If these simple fixes don’t work, you may need to replace the zipper entirely with a new one matching in size and style.
It’s important to handle a broken zipper carefully as forcing it might lead to further damage. With proper care and attention, fixing a broken zipper can be manageable with simple tools like candle wax or pliers.
Broken buckles
If a backpack’s buckle breaks, it can be fixed easily. Assess the damage and consider replacing the broken buckle with a new one. Ensure it is strong enough to carry your belongings securely.
Use keywords like “backpack repair kit” and “fixing a backpack strap” for relevant searches.
If fixing buckles, find replacement parts from outdoor or hardware stores. Then use simple tools such as pliers to remove the damaged buckle before attaching the new one using basic sewing skills.
Damaged mesh parts
To fix damaged mesh parts on a backpack, you will need some spare mesh material, needle and thread, and fabric glue. Start by carefully removing the damaged mesh section from the backpack.
Cut out a matching piece of new mesh to replace it. Use a simple backstitch to sew the new piece into place with strong nylon thread. To reinforce the repair, apply fabric glue around the edges of the patch.
This should restore your backpack’s mesh to its original strength and functionality.
Materials Needed for Backpack Repair
Thread and needle, duct tape, and industrial adhesive are essential materials for repairing fabric tears, broken straps, zippers, buckles, and mesh parts of a backpack.
Thread and needle
For DIY rucksack material repairs, having the right materials is crucial. When it comes to fixing fabric tears or holes, a basic tool you’ll need is a strong thread and needle. This simple combination can work wonders in mending torn backpacks and gear, ensuring they stay functional for your adventures.
With some practice and patience, using a thread and needle can help reinforce weak spots in your backpack fabric, providing durability for future excursions into the wilderness.
When repairing rucksack straps or damaged mesh parts, properly threading the needle can make all the difference. Strong stitching with a reliable thread will ensure that your repaired backpack remains sturdy while you’re out on the trails.
Duct tape
Duct tape is a versatile and strong adhesive that can be used to quickly patch up fabric tears or holes in backpacks. When repairing a ripped backpack, duct tape can provide a temporary fix until more thorough repairs are possible.
Additionally, it is essential for extended outdoor trips as part of a repair kit. Using duct tape along with sewing supplies ensures the integrity of the repair, providing extra strength and durability to the repaired area.
Outdoor enthusiasts often carry duct tape due to its usefulness in fixing various gear-related issues during expeditions or hikes.
Industrial adhesive
When fixing a torn backpack, using industrial adhesive is crucial for providing extra strength to the repaired area. The adhesive helps ensure that the tear stays sealed and reinforces the repair, making it more durable and long-lasting.
This material is essential for maintaining the integrity of the backpack fabric and preventing further damage, especially during outdoor adventures or extended trips.
Choosing high-quality industrial adhesive is important in ensuring that the repair holds up well over time. When applying this adhesive, be sure to follow the manufacturer’s instructions carefully for best results.
Steps for DIY Rucksack Material Repairs
Prepare the materials needed for repair, including thread and needle, duct tape, and industrial adhesive. Sew the hole or tear in the fabric, reinforce with duct tape if necessary, and use adhesive for extra strength.
Preparing the materials
To get ready for repairing your rucksack, gather the following materials:
- Duct Tape: This strong tape can temporarily fix small tears and reinforce weak spots.
- Thread and Needle: These are essential for sewing up larger holes in the backpack fabric.
- Industrial Adhesive: Use this for extra strength when patching up larger tears or broken straps.
Sewing the hole
To repair a fabric tear or hole in your backpack, follow these steps:
- Thread a needle with strong thread that matches the color of your backpack.
- Knot the end of the thread to secure it in place.
- Insert the needle from the inside of the backpack to the outside near the edge of the tear or hole.
- Create small, even stitches across and along the tear, pulling tightly after each stitch.
- Finish with a double knot on the inside of the backpack to secure the thread in place.
Reinforcing with duct tape
Reinforcing with duct tape can provide a quick and sturdy fix for backpack tears. Here’s how to reinforce with duct tape:
- Clean the area around the tear to ensure good adhesion.
- Cut a piece of duct tape slightly larger than the tear to cover it completely.
- Apply the duct tape to both sides of the fabric, smoothing out any air bubbles.
- For extra strength, apply another layer of duct tape perpendicular to the first layer.
- Press firmly to ensure proper adhesion of the duct tape to the fabric.
- Trim any excess tape for a neat finish.
Using adhesive for extra strength
Adhesive can provide extra strength and durability to the repaired area of your backpack. Here’s how to use it effectively:
- Clean the area around the tear or hole thoroughly to ensure the adhesive will bond properly.
- Apply a small amount of adhesive to the edges of the tear, working from the inside out.
- Press the torn fabric together firmly and hold in place for a few minutes to allow the adhesive to set.
- For even more reinforcement, add a small patch of fabric over the repaired area and apply adhesive around the edges.
- Allow ample time for the adhesive to dry completely before using your backpack again.
Tips for a Successful DIY Repair
Choose the right materials for your repair, practice proper sewing techniques for durability, consider simple cosmetic touch-ups to improve appearance, and seek recommendations for further repairs if necessary.
Choosing the right materials
When choosing materials for repairing a backpack, it’s important to select durable and compatible items that can withstand the wear and tear of outdoor use. For fabric tears or holes, sturdy threads in matching colors are essential for seamless repairs.
Duct tape should be strong and weather-resistant for patching up larger tears or reinforcing weak spots. When dealing with broken zippers or buckles, industrial-strength adhesives are crucial for lasting fixes.
By selecting high-quality materials suited to the specific repair needs, DIY enthusiasts can ensure their backpacks are ready for more adventures without worry.
Practicing proper sewing techniques
When practicing proper sewing techniques for backpack repairs, ensure to use a sturdy needle and strong thread that matches the color of the fabric for a seamless finish. Anchor your stitches securely by going back and forth multiple times to prevent them from unraveling during use.
Additionally, pull each stitch tight enough to close the gap but not too tight to distort the fabric. When repairing a backpack, it’s important to mimic the original stitching pattern for an aesthetically pleasing result.
Finally, secure your final knot with a dab of clear nail polish or fray check to prevent it from loosening over time.
Simple cosmetic touch-ups
For simple cosmetic touch-ups, consider using matching fabric patches or decorative iron-on patches to cover small holes or tears in your backpack. This can add a personal touch and extend the life of your favorite bag.
Additionally, you can use fabric glue to secure loose threads and prevent further damage to the material. This quick fix can help maintain the appearance of your backpack while preventing additional wear and tear.
Remember that keeping up with these simple cosmetic touch-ups can make a big difference in maintaining the overall condition of your rucksack. By addressing minor issues promptly, you can avoid more extensive repairs later on and keep your backpack looking great for all your outdoor adventures.
Recommendations for further repairs
For simple and effective repairs, it’s important to address any worn-out stitching on the backpack before it becomes a bigger issue. By reinforcing seams and straps with sturdy materials, such as nylon webbing or extra fabric patches, you can prevent potential tears and weak spots in the future.
Additionally, regularly inspecting buckles, zippers, and mesh areas will help identify small issues early on before they turn into major repair projects. It’s also beneficial to carry a small repair kit while on outdoor adventures for quick fixes.
Remember that preventive maintenance is key to extending the life of your backpack. Regularly cleaning your gear and treating it with water-resistant products can help avoid mold growth and reduce the likelihood of extensive damage.
Conclusion
In conclusion, DIY rucksack material repairs are practical and cost-effective for fixing common backpack issues. With the right materials and techniques, repairing fabric tears, broken zippers, or damaged straps can be simple and rewarding.
By following the outlined steps and tips, individuals can easily restore their favorite backpacks for more outdoor adventures.
FAQs
1. How can I fix a hole in my rucksack?
You can repair a backpack hole by patching it with a backpack fabric patch or using DIY gear repairs like sewing or gluing on patches.
2. What should I do if my backpack strap breaks?
To fix ripped backpack straps, you can sew them back together or reinforce the area with durable material as part of your DIY bag fixes routine.
3. Can I fix the zipper on my backpack myself?
Yes, you can often fix a broken zipper with simple tools like pliers to adjust it, making this an easy backpack zipper fix for outdoor equipment maintenance.
4. Is it possible to mend other parts of my rucksack at home?
Definitely! You can perform many types of DIY rucksack material repairs such as restoring faded areas and fixing up tears in the fabric.
5. Are there any tips for keeping my rucksack in good shape after repairs?
Regularly check and carry out needed rucksack maintenance like cleaning and timely mending will keep your backpack strong for adventures ahead.