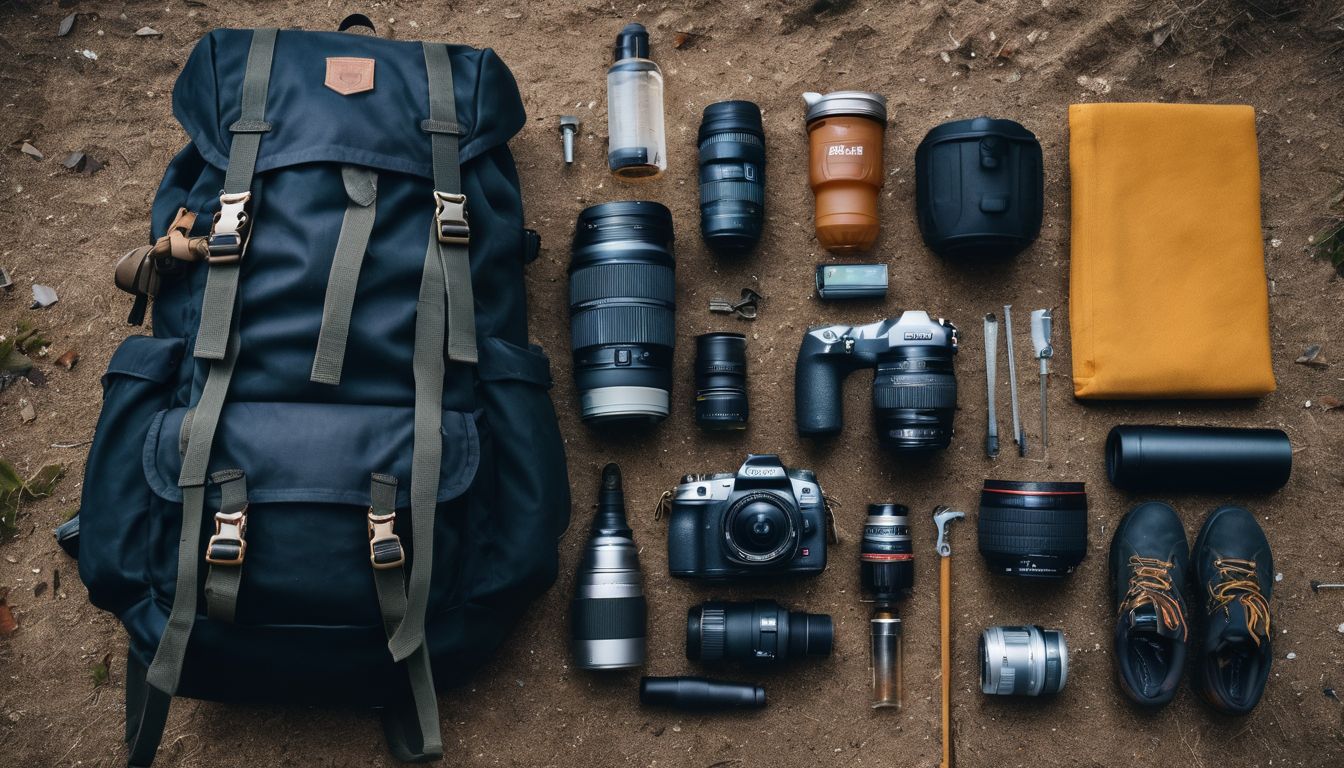
A well-loved rucksack is a traveler’s trusty companion, standing strong against the rugged terrains and bustling cityscapes that mark our journeys. But even the sturdiest packs can succumb to wear and tear; it’s not just an inconvenience but also a potential journey-halter.
As someone who has spent years exploring trails and teaching outdoor survival skills, I’ve seen firsthand how critical maintaining your gear can be – including knowing how to mend that faithful rucksack.
Don’t let a rip or broken buckle cut your adventure short! With some basic repair know-how you could save yourself both time and money, not to mention avoiding unnecessary waste by extending the life of something perfectly salvageable.
The upcoming insights promise easy-to-follow fixes for common backpack woes that will keep your pack—and adventures—going strong. Keep reading; your next fix might be simpler than you think!
Key Takeaways
- Repairing your backpack can save you money by fixing small problems and reducing the need to buy a new one.
- By repairing instead of throwing away your backpack, you’re contributing to reducing waste and helping the environment.
- Proper maintenance and repairs can extend the life of your backpack, making it last longer and saving you money in the long run.
Why Repair Your Backpack
Repairing your backpack is a cost-effective way to save money and reduce waste while also extending the life of your favorite rucksack.
Save money
Fixing small problems on your backpack can keep cash in your pocket. Instead of buying a new one, you might just need duct tape for a rip or replacement buckles for a broken strap.
Taking care of these issues at home is smart because travel costs are climbing up every day.
Making your gear last longer means spending less over time. If there’s a hole or tear, an iron-on patch could be the quick fix that saves you from shopping for another bag. You get more life out of your backpack and save money that way.
After fixing up your pack and keeping some change in your wallet, think about how to reduce waste next!
Reduce waste
Repairing your backpack instead of throwing it away helps our planet. Each time you fix a tear or sew a strap, you’re stopping that bag from becoming trash. As the manufacturing process for new bags often leaves behind materials that get tossed out, fixing your own cuts down on this waste.
Using what you already have is smart and good for Earth. Think about all the plastic used to wrap new backpacks. When you repair your bag, no new plastic is needed. This means less pollution in our oceans and landfills.
Plus, simple fixes with things like fishing wire or seam grip can make your old rucksack last longer.
Choosing to mend instead of replace sends a powerful message about caring for our world. It shows others that with a little effort, we can reduce the amount of single-use plastic and help fight against the problem of plastic pollution.
And when your backpack keeps going strong after a repair, it’s one less piece of waste – better for nature and great for adventure!
Extend the life of your backpack
Taking care of your backpack not only reduces waste but also makes it last longer. Fixing rucksacks can take some time and effort, yet the rewards are worth it. If you mend tears or replace broken buckles, your backpack can keep going on adventures with you for many more years.
Companies design these durable bags to handle tough trips, like hiking through mountains or paddling on kayaks. Taking steps to look after your bag means fewer new ones need making, which helps our planet.
With proper maintenance, a backpack’s life stretches out even more. Use stitches that hold tight and materials like dental floss that resist breaking down outdoors. Treat any mold growth early with cloth and baking soda to stop the damage from spreading.
Seal up holes well so water stays out during rainy days in the wilds or city streets alike. Caring for your pack this way ensures you won’t have to buy a new one soon and saves money over time.
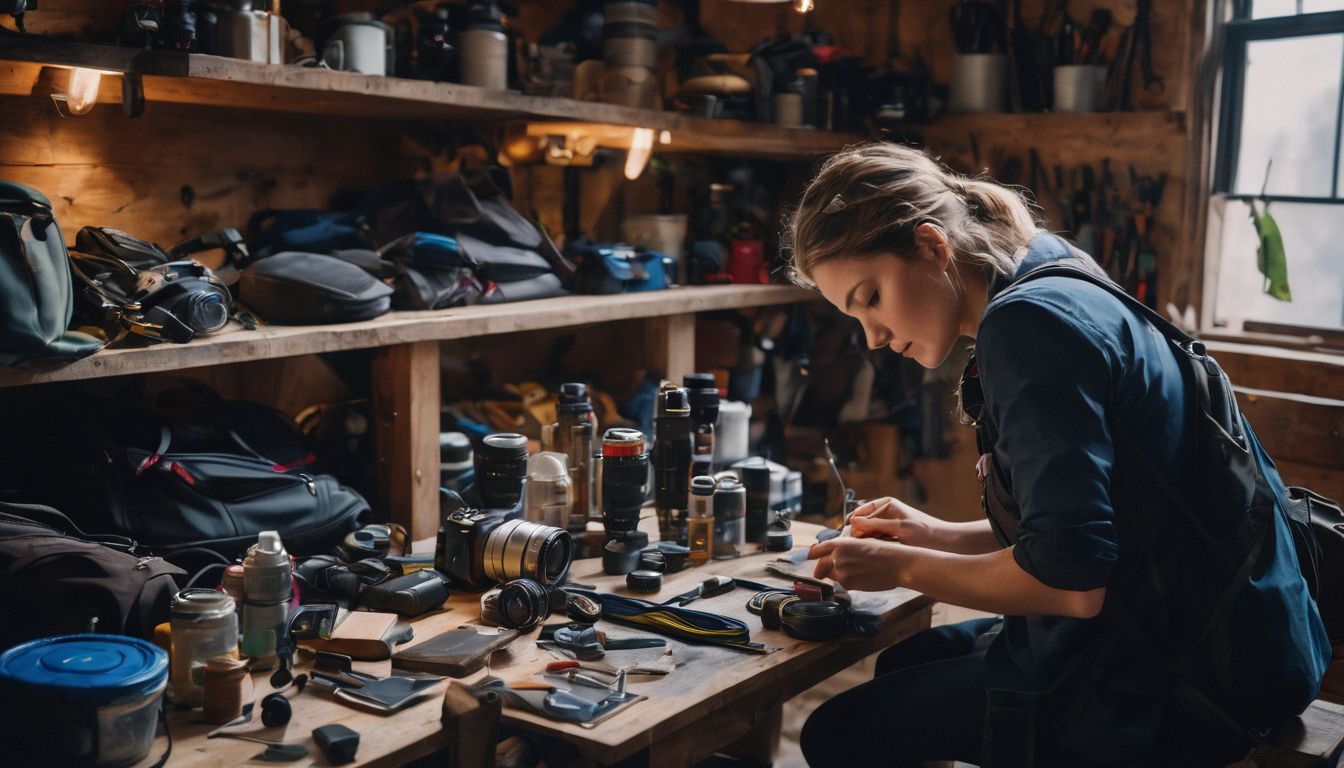
How to Repair Backpack Damage at Home
Inspect your backpack for tears, holes, or punctures and patch them up using a strong adhesive or sewing kit. If the straps or handles are worn out, consider replacing them with new ones to ensure durability.
Finish by sealing any repairs with a waterproofing solution to protect your backpack from further damage.
Cleaning and preparing the backpack
Empty and shake out the bag to remove any debris. Wipe the exterior with a soft soap solution. Carefully clean the zippers, straps, and hardware using a toothbrush or a soft cloth.
Remove the hipbelt and shoulder straps (if possible) for separate washing with soap and water. Ensure to also clean the interior of the backpack thoroughly.
Inspecting for damage is crucial before proceeding to repair tears, holes, or punctures. Once cleaned, let it hang up in an airy place rather than direct sunlight until completely dry – avoid machine-washing or putting it in a dryer as this may damage it further.
Inspecting for damage
Before starting any repairs, it’s crucial to inspect your backpack for damage. Look for tears, holes, or loose stitching on the fabric. Check the straps and handles for fraying or weak spots.
Also, examine the zippers and buckles to ensure they are working properly.
When dealing with a leather backpack, carefully inspect the leather for scratches, scuffs, or discoloration. Pay attention to any worn-out areas or cracks in the leather material. It’s essential to identify all areas of damage before proceeding with any restoration or repair work.
Inspecting your backpack thoroughly allows you to assess the extent of damage and determine the necessary repairs needed to restore its functionality and appearance.
Repairing tears, holes, and punctures
Inspecting for damage is crucial before embarking on repairs. Here’s how to repair tears, holes, and punctures in your backpack:
- Identify the extent of the damage by carefully examining the area. Determine if it’s a small tear, a larger hole, or just minor damage that requires simple sealing.
- For small holes or tears in the fabric, consider using tenacious tape or iron – on patches. Apply these materials according to package instructions for a reliable fix.
- If there’s substantial damage to the material, consider using like – material pieces with strong adhesive to cover and reinforce the damaged area.
- For more significant tears or punctures, stitching may be necessary. Use a heavy-duty needle and strong thread to sew up the damaged portion securely.
- Once repaired, ensure that all seams are sealed to prevent water from entering through the repaired areas.
Replacing straps or handles
To replace damaged backpack straps or handles, follow these steps:
- Gather the necessary materials including heavy-duty replacement straps, handles, or webbing, a seam ripper, matching polyester thread, and a heavy-duty sewing machine.
- Carefully remove the old straps or handles using a seam ripper to avoid damaging the backpack further.
- Measure the length and width of the old straps to ensure the new ones are appropriately sized for your backpack.
- Use the heavy – duty sewing machine to securely stitch the new straps or handles in place, ensuring they are reinforced at stress points to prevent future tearing.
- Once attached, inspect the seams and connections thoroughly to confirm they are securely fastened before use.
Sealing any repairs
Once all the necessary repairs have been made to your backpack, it’s crucial to seal them properly. This will ensure that the fixes hold up well over time and maintain the integrity of your bag.
After repairing tears, holes, or punctures in the fabric or straps, apply a leather sealer or protector. This will provide an extra layer of protection and durability to the areas that were repaired.
It’s important not to overlook this step as sealing the repairs is essential for maintaining the overall quality and longevity of your backpack. By following this process diligently, you can rest assured that your backpack will continue to serve you well on many future adventures.
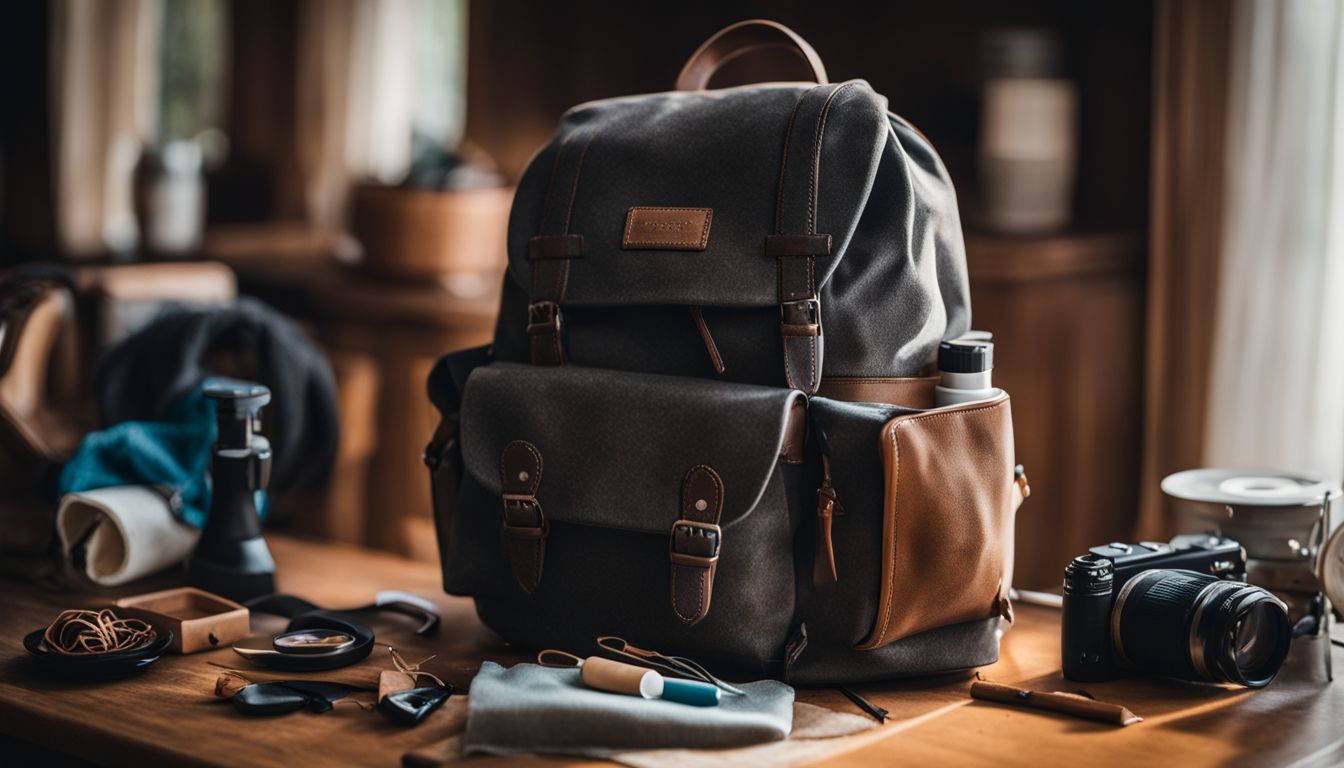
Common Types of Leather Used in Backpacks
Leather is a durable and versatile material commonly used in backpack construction. Some of the most common types of leather include full-grain, top-grain, and genuine leather, each with its own unique characteristics and qualities.
Definition of leather
Leather is a material made from animal skin. There are two primary definitions of genuine leather, which serves as an umbrella term for any leather product containing animal hide. Vegan leather, also known as faux leather, is man-made and does not involve the use of animal skin.
It offers alternatives to those seeking a leather-like appearance without using animal products.
Quality and longevity may differ based on the type of leather used. Genuine leather might not be as durable as higher-end synthetic options and could lose its appearance over time due to stretching.
Types of leather
Leather, a durable material, is obtained from treating animal skins. Different types of leather are used in backpacks. Faux leather, resistant to wear, can peel and crack over time.
Bonded leather is a mix of real and fake leather, often made from scraps. Genuine leather may not last as long as high-end synthetic leather.
When choosing a repair method for your backpack, it’s essential to understand the type of leather it’s made of so that you can apply the most suitable maintenance techniques and ensure its longevity.
Tips for Maintaining Your Leather Backpack
Regularly clean your leather backpack with a gentle leather cleaner and conditioner to keep it looking fresh and prevent drying or cracking. Always allow it to air dry naturally, away from heat sources, and consider professional dyeing for color restoration when needed.
Gentle cleaning techniques
To keep your leather backpack in top condition, use a dry microfiber cloth to dust off any grained leather. For suede, gently scrub with a soft bristle brush or cloth. Ensure you wipe down the leather using a cleaner specifically designed for this material.
These methods help preserve the quality of your backpack and maintain its appearance.
Regularly clean your backpack to prevent dirt build-up and potential damage. Use these gentle techniques to keep your leather backpack looking great and lasting longer.
Preventing and treating grease stains
Preventing and treating grease stains on your leather backpack is crucial for maintaining its appearance and durability. To prevent these stains, apply a leather conditioner to create a protective barrier.
In case of any grease stains, using saddle soap can effectively remove them without causing damage to the leather. Different types of leather may require different methods such as using rubbing alcohol, baking soda, or lemon juice for removing grease stains.
Now let’s explore some useful tips for maintaining your leather backpack to ensure its longevity and pristine condition.
Drying the backpack properly
After successfully preventing and treating grease stains on your leather backpack, the next crucial step is to ensure proper drying. Avoid using direct heat sources such as hairdryers or direct sunlight, as they can lead to cracked leather.
Opt for a well-ventilated area at room temperature instead. It’s important to be patient and allow the backpack to air dry naturally, which will help maintain its quality and structural integrity.
Remember that excessive heat can cause severe damage, so resist the temptation to speed up the process with high-heat devices like a tumble dryer or radiator. By allowing your leather backpack to air dry in a gentle manner, you’ll effectively preserve its longevity and keep it looking great for years to come.
Choosing a professional dye job for color restoration
Professional leather restoration services offer a reliable solution to restore the color and appearance of your faded or worn leather backpack. By employing expert techniques, these services aim to revitalize the original color and enhance the overall look of the backpack.
Using specialized products and methods, professional dye jobs can effectively bring back the vibrancy of your leather backpack, providing a fresh and rejuvenated aesthetic.
These professionals are equipped to address specific needs, such as touchups for faded leather or complete re-dyeing for restoring older backpacks. Engaging with a professional service ensures meticulous attention to detail in color matching and application, resulting in a refreshed and polished final product that extends the lifespan of your beloved backpack.
Seeking professional dye jobs is an ideal choice when traditional maintenance methods fail to restore the desired color or quality you seek for your leather backpack. These experts have comprehensive knowledge on various types of leathers used in bags, allowing them to customize their approach based on individual requirements.
Frequently Asked Questions (FAQs)
– Types of leather commonly used in backpacks include full-grain, top-grain, and genuine leather. Cleaning and maintenance tips for leather backpacks with metal hardware are essential to ensure their longevity and durability.
Stuck zippers can be fixed by applying a small amount of lip balm or wax along the teeth to lubricate them. Dealing with strong odors involves airing out the backpack, using baking soda or activated charcoal, and avoiding storing it in damp areas.
Common types of leather used in backpacks
Full-grain leather, known for its durability and natural appearance, is a common choice for backpacks. This type of leather retains the full grain layer, making it resistant to wear and tear.
Split leather, made from the lower layers of hide, offers a more affordable option but requires specific care due to its less durable nature. Bonded leather raises sustainability concerns as it combines real and synthetic materials.
Understanding these types can guide you in selecting a backpack that aligns with your preferences while also informing proper maintenance techniques.
Cleaning and maintenance tips
To keep your backpack in good shape, use heavy-duty laundry detergent, pine oil, and phenolic disinfectant when washing it. Consider the type of leather and potential damage before cleaning a leather backpack.
Using these tips will help extend the life of your backpack and ensure it withstands regular demands.
How to fix a stuck zipper
To fix a stuck zipper on your backpack, start by gently trying to slide the zipper in both directions. If it’s still not budging, use some household lubricant and try again. For a more stubborn case, carefully use pliers to adjust the slider while applying a lubricant.
It’s essential to have tools like needle-nose pliers and scissors on hand for this task. Additionally, soap or wax can be used for lubrication, and having a needle and thread ready will come in handy for replacing zippers or mending the fabric.
Remember that patience is key when dealing with a stuck zipper. Apply small movements and tension to resolve the issue without forcing or damaging it further.
Dealing with strong odors
To deal with strong odors in your backpack, especially those related to sweat or fish-like smells, it’s essential to start by thoroughly washing the pack. Use warm water and a gentle detergent like Dawn to remove these stubborn odors.
Remember that using a fragrance-free, gentle detergent alongside a stain remover can help freshen up your backpack and give it a new lease of life.
Whether you’re tackling stink and sweat smells from the interior of the backpack or addressing unpleasant odors embedded into the backpack straps, thorough cleaning is key. Understanding this process not only ensures practical benefits in terms of hygiene but also extends the lifespan of your trusty rucksack.
Care instructions for leather backpacks with metal hardware
When it comes to leather backpacks with metal hardware, proper care is crucial to maintain their quality and appearance. To deal with the metal hardware, use a soft cloth dampened with mild soap and water to gently wipe the surface, ensuring no moisture seeps into the leather.
Avoid using harsh chemicals or abrasive cleaners as they can damage both the metal hardware and the leather. Regularly inspect the metal components for any signs of corrosion or tarnishing, addressing such issues promptly to prevent further damage.
Periodic conditioning of the leather is essential to maintain its suppleness and luster while also protecting it from drying out or cracking. It’s important to choose a conditioner specifically formulated for high-quality leathers.
Conclusion
In conclusion, repairing common rucksack damage is practical and efficient. The outlined strategies are easy to implement and can extend the life of your backpack. Have you considered how these methods could save money and reduce waste? Reflect on the impact of maintaining and repairing your backpack for long-term functional benefits.
Explore additional resources for further guidance in maintaining and repairing your backpacks effectively. Take action now to ensure that your outdoor adventures are always supported by a reliable, well-maintained rucksack.
FAQs
1. What should I do if my rucksack gets a tear?
If your rucksack has a small tear, you can fix it with a patch or sew it up. If the damage is big, you might need to take it to a professional for repair.
2. Can I fix broken zippers on my rucksack?
Yes, sometimes you can fix a zipper by moving the slider or replacing it. If that’s too hard, ask someone who knows how to work on zippers to help.
3. What if the straps on my rucksack come loose?
If the straps come loose, try tying them with a strong knot. If they are broken, they may need to be sewn back on or replaced.
4. How do I clean my rucksack if it gets dirty?
Clean your rucksack gently with soap and water. Be careful not to make any damage worse while cleaning. Always let it dry naturally away from direct heat.