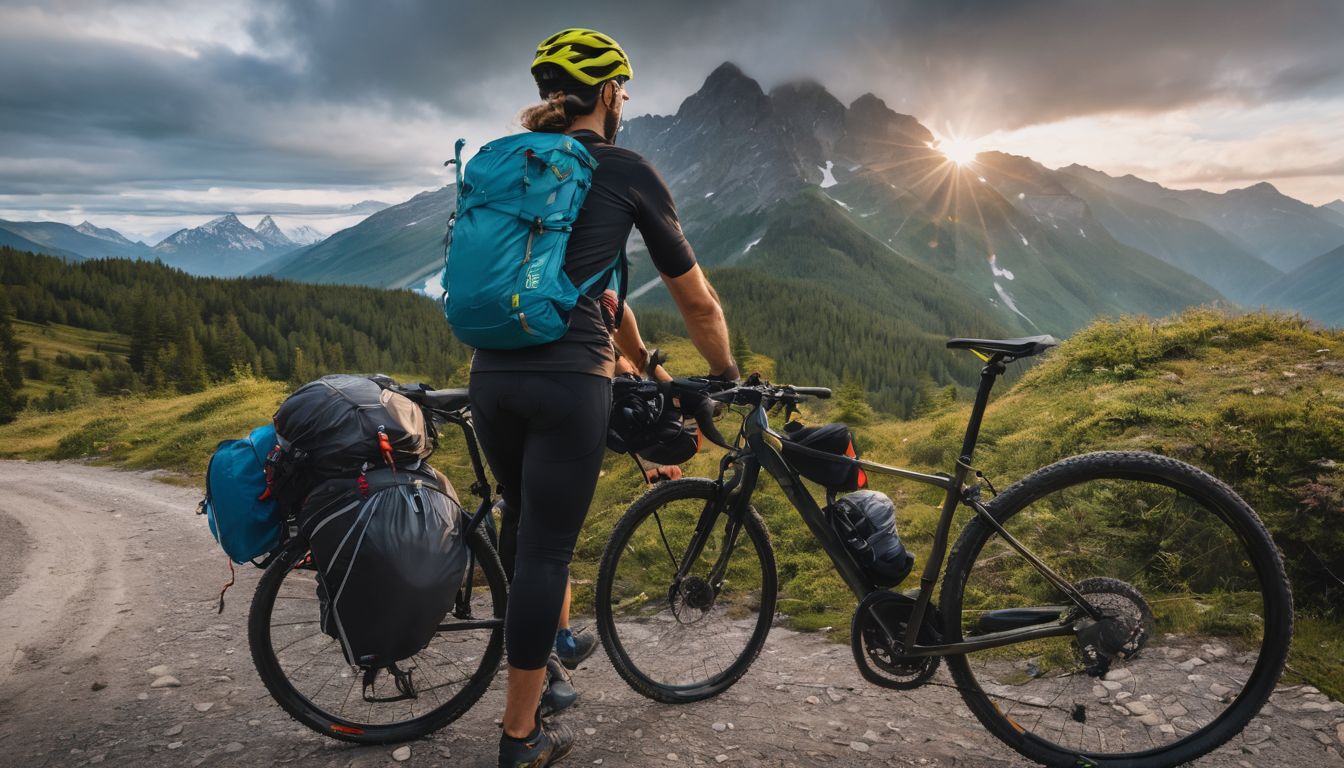
Embarking on a bike tour is an exhilarating fusion of adventure and athleticism, but the success of your journey hinges largely on one critical skill: packing. With years of experience cycling across varied terrains, I’ve witnessed firsthand how a poorly packed rucksack can turn the ride from delightful to daunting.
My mission is to arm you with proven strategies that ensure your gear enhances rather than hinders your experience.
A balanced load is not just comforting; it’s essential for maintaining stability during your ride. Let this article be your guide in mastering the art of rucksack packing – a game-changer in the world of bike touring that promises smoother rides and unforgettable adventures.
Ready to pack smart? Keep reading for transformative tips that will elevate your next two-wheeled trek!
Key Takeaways
- Bike touring comes in various forms, such as bike touring and bikepacking. The essential gear for both includes a strong bicycle, repair kit, safety equipment, clothing layers, navigation aids, water bottles or hydration packs, food storage containers, sleeping gear for longer tours, and a first aid kit.
- Effective rucksack packing is crucial for maintaining stability during bike touring. Techniques like 60/40 weight distribution in panniers help improve handling and comfort on long rides. Packing heavier items at the bottom of rear panniers and distributing weight evenly between front and rear panniers contribute to balance and stability while riding.
- Selecting the right rucksack for your tour is important. Hydration packs with built-in water reservoirs are ideal for staying hydrated during outdoor activities like bike touring. When choosing between full-featured backpacks designed for rigorous riding or packable backpacks geared towards minimalist travelers, considering factors such as durability, weight distribution needs when packed light or empty can influence your decision-making process.
- Quick access packing tips include using stem bags or top tube bags to keep frequently used items within reach during rides; organizing gear in a way that allows quick retrieval; prioritizing easy access to items needed throughout the day; and utilizing smaller bags or pouches to compartmentalize items within larger storage compartments.
Understanding the Basics of Bike Touring
Bike touring comes in various forms, from leisurely day trips to epic multi-day adventures. Depending on the type of tour, the essential gear needed can vary, but some common items include camping gear, GPS maps, and hydration packs.
Before embarking on a bike tour, it’s important to understand the different types of tours and essential gear required for each one.
Types of Bike Tours
Bike touring and bikepacking are two popular ways to explore on wheels. If you enjoy smooth rides along paved roads with views of towns and countryside, bike touring is for you. It’s all about traveling on your bike for days or even months, making it a perfect adventure for those who love longer trips with comfort stops along the way.
For riders who crave rougher terrain and wild spaces, bikepacking offers an exciting challenge. You’ll ride over dirt paths, rocky trails, and gravel. This type of tour suits mountain bikers and trail runners eager to leave busy streets behind.
Dive into nature as you carry camping gear in your frame bag or rucksack; prepare to trek through more remote areas powered by nothing but your own strength.
Both styles give you a chance to join a community that shares stories and tips—like those from The Bikepacking Journal or experiences with The Local Overnighters Project—adding value far beyond the ride itself.
Whether packing hydration packs for day hikes or loading GPS maps for tracking new paths, each journey promises unique thrills on two wheels.
Essential Gear for Touring
Bike touring is all about adventure on two wheels. You need the right gear to make sure your journey is safe and fun. Here’s a list of must-haves:
- The bicycle: Choose a bike that’s strong and fits you well. It should handle heavy loads and long distances.
- A repair kit: Pack tools like a multi-tool, tire levers, patch kits, and a pump. Be ready for flat tires or small fixes.
- Safety equipment: Always bring a helmet for protection. Add bright lights and reflectors to be seen at night.
- Clothing: Wear layers to stay warm or cool. Include waterproof jacket and pants for rain.
- Navigation aids: Maps or a GPS will help you stay on track.
- Water bottles or hydration packs: Stay hydrated with easy-to-reach drink containers.
- Food storage: Use bags or containers to keep snacks dry and handy.
- Sleeping gear: For longer tours, you’ll want a tent, sleeping bag, and pad.
- First aid kit: Be prepared for cuts or scrapes with bandages and basic medicines.
Mastering the Art of Rucksack Packing
Learn how to effectively balance weight in your panniers and get valuable tips for packing rear and front panniers. Discover the best ways to utilize bike racks and storage bags efficiently for a seamless bike touring experience.
How to Balance Weight in Panniers
Balancing weight in panniers can make bike touring fun and safe. It improves your bike’s handling and keeps you comfortable on long rides.
- Start with the 60/40 weight distribution technique. Put 60% of the weight in your rear panniers and 40% in the front.
- Keep heavy items low and close to the bike frame. This lowers your center of gravity, which helps with stability.
- Use lightweight rear bike racks to carry some gear. These can hold items evenly across your bike.
- Pack equal weights on both sides of the bike. This stops the bike from leaning to one side.
- Your panniers should not be too heavy. Aim for about 4 – 12 lbs per side, plus a few pounds for tools and spare parts.
- Put things you need often in easy-to-reach spots. Tools or snacks should go on top or in outer pockets.
- Check how your loaded bike feels before starting out. Make sure it does not lean or wobble too much.
Tips for Packing Rear and Front Panniers
After understanding how to balance weight in panniers, let’s move on to some practical tips for packing rear and front panniers efficiently:
- Utilize waterproof bags or dry sacks to protect clothes and gear from the weather when stored in rear and front panniers.
- When packing rear panniers, put heavier items at the bottom for stability, while lighter items should be placed on top for easy access.
- In front panniers, store frequently needed items such as snacks, maps, and tools in easily accessible pockets or compartments.
- Consider using compression sacks for clothing to save space and keep them organized within the front and rear panniers.
- To ensure security during bike touring, pack valuable items in rear panniers, closest to the non-traffic side of the bike.
- Distribute weight evenly between rear and front panniers to maintain balance and stability while riding.
- Pack bulky or lightweight items in the front panniers to keep the bike balanced and manageable when navigating varied terrain.
- Use small storage bags or pouches within front and rear panniers to keep small items neatly organized for easy access.
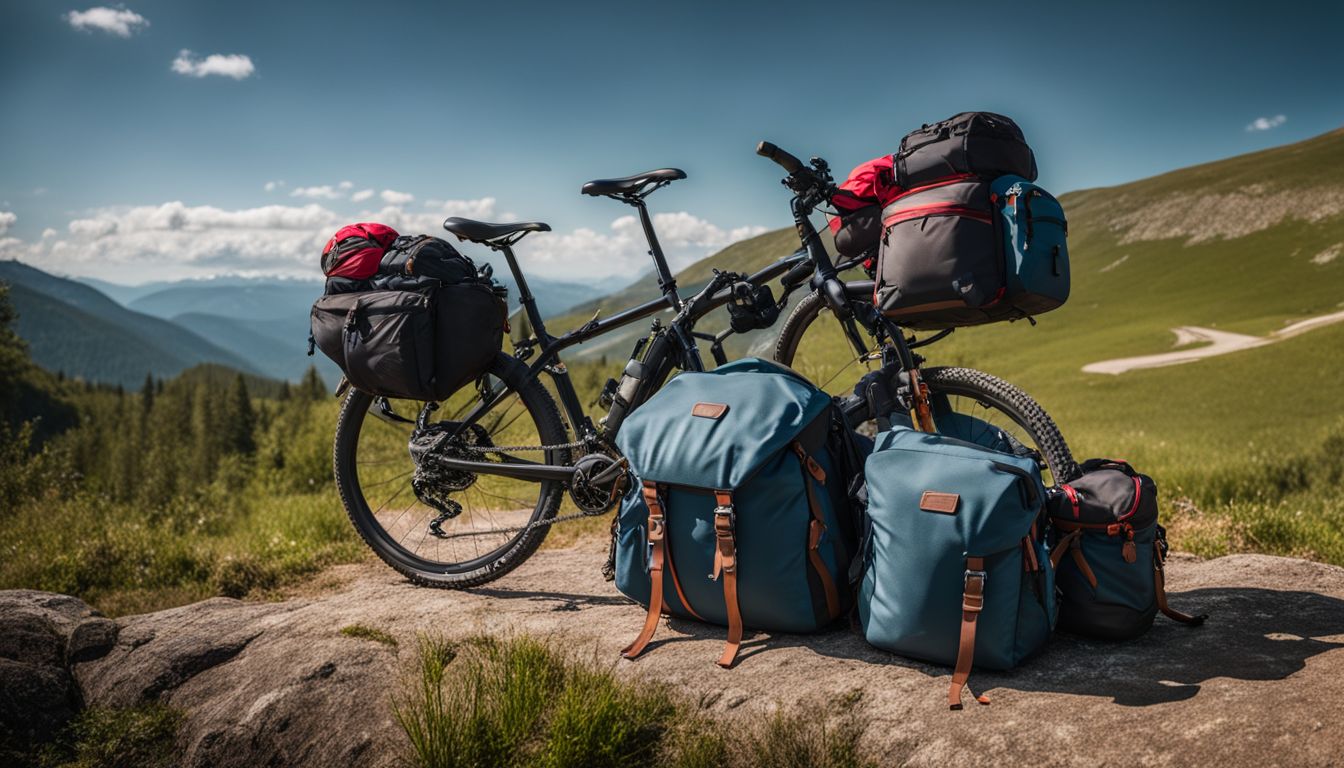
Utilizing Bike Racks and Storage Bags Efficiently
When packing your rucksack or bike bags for touring, use these strategies to make the most of your storage space and weight distribution:
- Distribute Weight Evenly: Place heavier items near the bottom of the panniers or bike bags to keep the center of gravity low.
- Utilize Rear Bike Racks: Rear racks offer stability and expandability for longer trips, allowing you to carry more gear without affecting your bike’s handling.
- Optimize Front Panniers: Distribute weight evenly between front panniers to maintain balance and stability while riding.
- Consider Frame Bags: Utilize frame bags for storing dense items like tools or food, maximizing space without adding extra bulk.
- Use Saddlebags Wisely: Saddlebags are ideal for carrying light, bulky items such as sleeping gear or clothing layers, keeping them out of the way but easily accessible.
- Secure Gear with Bungee Cords: Use bungee cords to secure gear on top of racks or over the rear wheel, providing additional storage options for larger or irregularly shaped items.
Quick Access Packing Tips for Bike Touring
Packing for bike touring requires easy access to essential items. Here are some quick access packing tips:
- Use stem bags, top tube bags, or cages to keep frequently used items within reach during rides.
- Organize gear in a way that allows for quick and easy access while on the road.
- Prioritize packing items you may need throughout the day in easily accessible locations.
- Consider the layout of your panniers and use smaller bags or pouches to compartmentalize items for quick retrieval.
Selecting the Right Rucksack for Your Tour
Consider the benefits of hydration packs and daypacks for shorter tours, and explore the differences between full-featured backpacks and packable backpacks to find the best fit for your touring needs.
Ready to find the perfect rucksack? Let’s dive in!
Hydration Packs and Day Packs
Hydration packs are a must-have for staying hydrated during outdoor activities such as bike touring, mountain biking, or trekking. These packs come with a built-in water reservoir and a drinking tube for easy access to water while on the move.
When selecting a hydration pack, it’s essential to consider factors like reservoir size and gear capacity to ensure it meets your specific needs. For half-day hikes or bikepacking trips, day packs are convenient and offer enough space to carry essentials like snacks, extra clothing layers, first aid kits, and small gear items.
When choosing a hydration pack or day pack for outdoor adventures such as bike touring or fastpacking, it’s crucial to consider individual preferences and the specific requirements of the activity.
The Osprey Skarab 18 and Osprey Skimmer 16 are recommended as top choices for half-day hikes due to their comfortable fit and efficient design. Understanding the different types of hydration packs available can help in making an informed decision based on the particular demands of your outdoor pursuits.
Full-featured Backpacks vs. Packable Backpacks
Moving beyond the simplicity of hydration packs and day packs, cyclists embarking on a bike tour must consider the more complex decision between full-featured backpacks and packable backpacks. Each option offers distinct advantages, catered to the diverse demands of bike touring.
| Full-featured Backpacks | Packable Backpacks |
|---|---|
| Designed for rigorous riding and challenging conditions | Lightweight and easily compressible for convenience |
| Often include multiple compartments for organized storage | Space-saving when empty, ideal for minimalist travelers |
| Feature hydration systems and adjustable straps for comfort | Simple design, geared towards light carry and short tours |
| More durable materials to withstand wear and tear | Can be folded or rolled up into larger luggage when not in use |
| Generally heavier, requiring careful consideration of weight distribution | Perfect for those who may occasionally need extra storage |
| Adjustable features cater to specific touring needs | Less supportive for carrying heavier loads over long distances |
Choosing between these backpack styles comes down to understanding personal tour needs and prioritizing between comfort, convenience, and capacity. Cycling enthusiasts must weigh these options carefully to ensure their gear complements the adventure ahead.
Additional Packing Strategies for Convenience and Comfort
Considerations for multi-day tours and varied terrain will ensure that you are prepared for any situation, allowing you to focus on enjoying the ride. Ready to take your bike touring packing skills to the next level? Read on for more expert tips.
Strategic Packing for Accessibility and Weight Distribution
To pack strategically for accessibility and weight distribution on your bike tour, follow these tips:
- Pack the heaviest items at the bottom and closest to your back to improve balance and comfort.
- Distribute weight evenly between rear and front panniers to maintain stability on varied terrain.
- Organize gear based on frequency of use, with commonly needed items easily accessible.
- Utilize bike racks and storage bags efficiently to maximize space and balance weight distribution.
- Consider the terrain and weather conditions when packing, placing frequently needed items within quick reach.
- Prioritize weight distribution for long-term comfort, ensuring a well-balanced load for multi-day tours.
- Use compression sacks or packing cubes to keep gear compact and manageable while maintaining accessibility.
Considerations for Multi-Day Tours and Varied Terrain
When planning for multi-day bike tours and varying terrain, it’s essential to anticipate the need for adapting to different environments and riding conditions. Ultra bikepacking, encompassing long-distance races across challenging terrains, emphasizes the importance of efficient and convenient packing strategies.
Crossing varied landscapes demands a carefully planned storage approach that ensures accessibility while maintaining stability during the ride.
Considering multi-day touring on dirt roads, trails, or gravel means meticulously evaluating where items are stored and how weight is distributed to achieve a more comfortable and stable biking experience.
With these considerations in mind, strategic packing becomes crucial for adjusting to changing terrain while still having access to necessary gear.
Conclusion
In conclusion, mastering rucksack packing for bike touring is essential for a stable and comfortable ride. Balancing weight in panniers and utilizing bike racks efficiently are key to a successful tour.
Emphasizing practicality, these strategies offer an easy way to distribute weight and provide convenience during cycling journeys. How will you apply these packing tips on your next adventure? Remember, proper rucksack packing can lead to a more enjoyable and smoother bike touring experience.
Keep exploring new ways to enhance your biking adventures!
FAQs
1. What should I pack in my rucksack for bike touring?
Pack light and essential items for your treks in your rucksack, like clothes, food, water, a map, and a first-aid kit.
2. How do I make sure my rucksack isn’t too heavy for biking?
Test your packed rucksack before you go on long rides to ensure it’s comfortable and not too heavy.
3. Can I join the Bikepacking Collective with any kind of rucksack?
Yes! You can join the Bikepacking Collective with any type of ruckssck that holds all you need for the ride.
4. Where do I put my rucksack while bike touring?
Securely attach your rucksack to your bike or wear it on your back if it is not too bulky or heavy.