The journey of a photographer is filled with moments that must be captured swiftly and a single missed opportunity can mean the loss of an unforgettable image. As a seasoned traveler and photography enthusiast, I’ve learned that managing your gear effectively can make or break your photographic pursuits.
Through years of navigating diverse terrains and capturing life’s ephemeral beauty through my lens, I’ve honed the craft of packing a rucksack to keep my photography equipment safe, accessible, and organized.
Understanding how to pack efficiently elevates your preparedness for spontaneous shots—because when nature unveils its spectacle or human emotion reaches its peak, there’s no time to fumble through disorganized gear.
This article will guide you in choosing the ideal rucksack for your camera essentials while balancing weight distribution for those long treks. We’ll delve into strategies that protect your valuable tools from the unpredictable elements you may encounter on the road.
Read on for practical insight into transforming your travel photography experience; it just might be the game-changer you’re looking for!
Key Takeaways
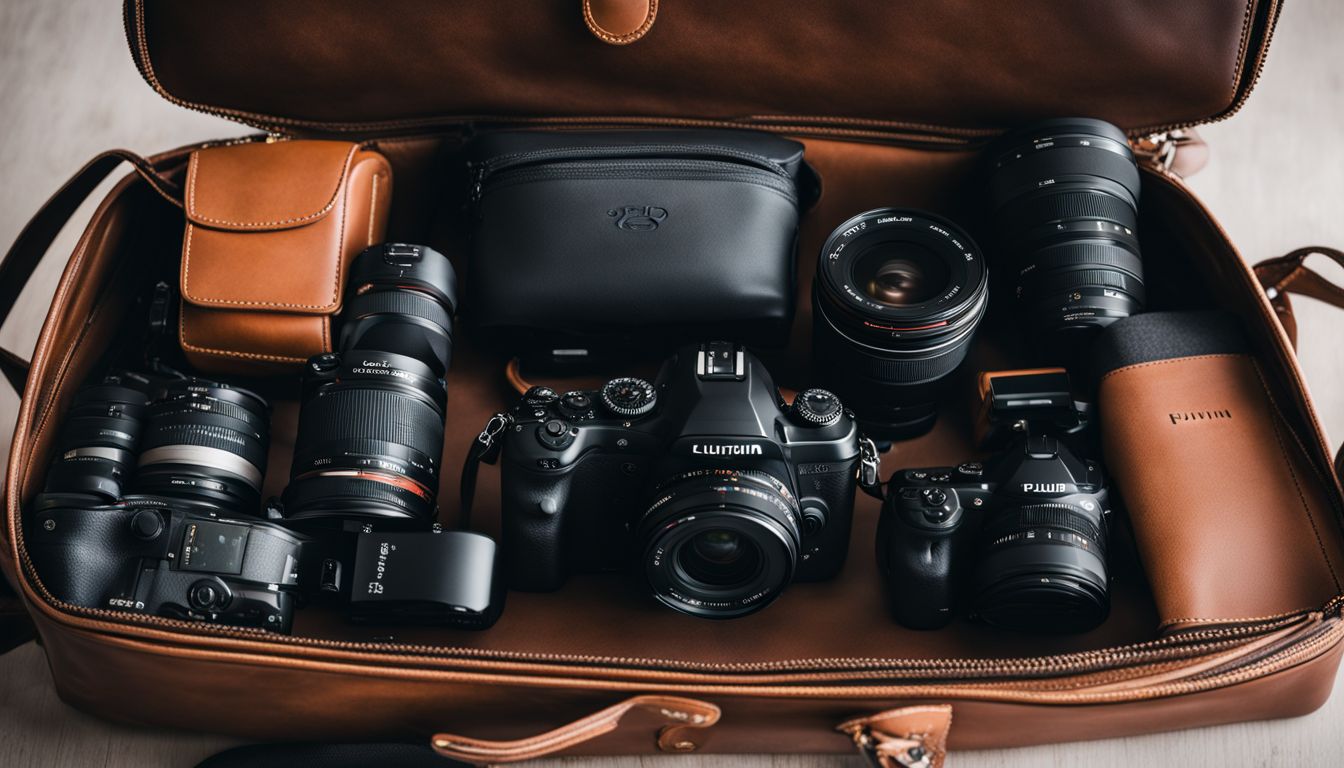
- Disassemble and protect your camera gear by removing batteries, memory cards, and lenses, and then wrapping each component in padded wraps or soft cloths to prevent damage during travel.
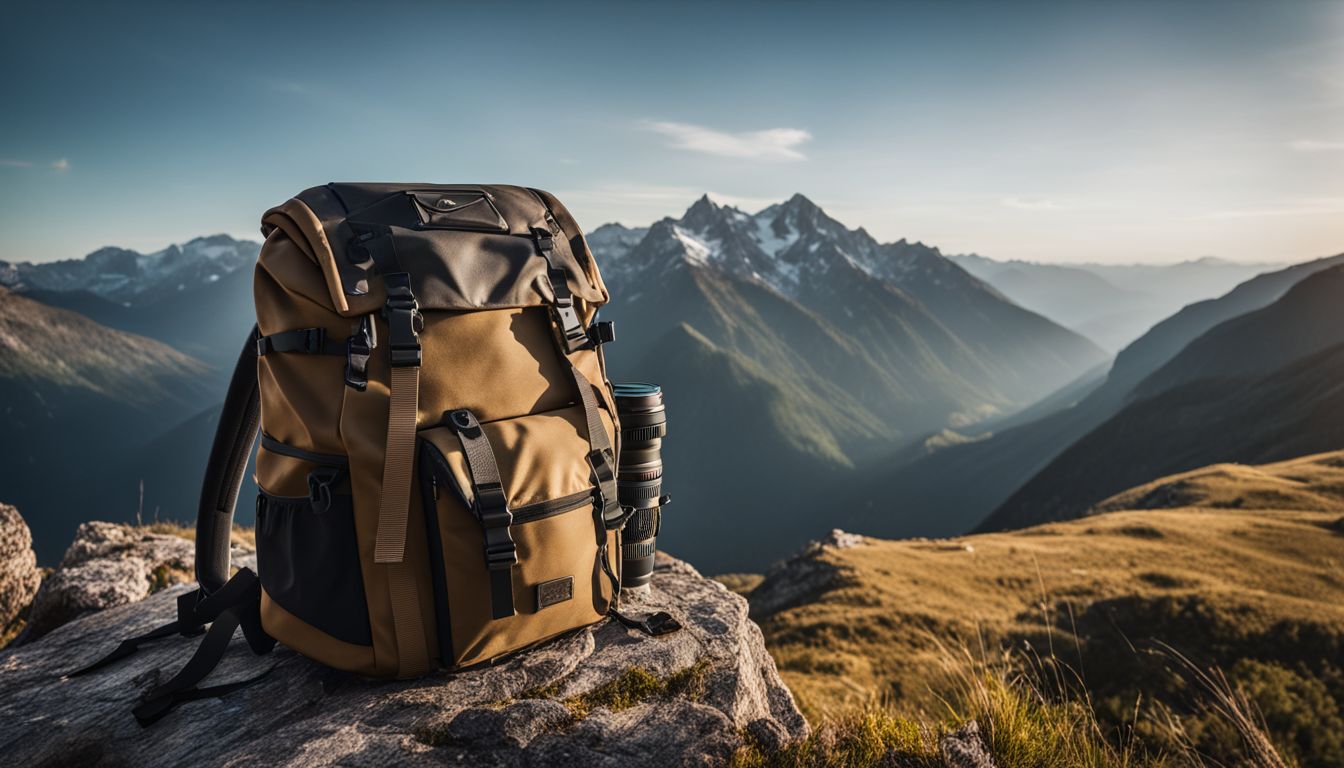
- When choosing a rucksack for your photography equipment, opt for one with adjustable compartments, padded dividers, weather resistance, sturdy zippers, and comfortable straps to ensure both protection and ease of access.
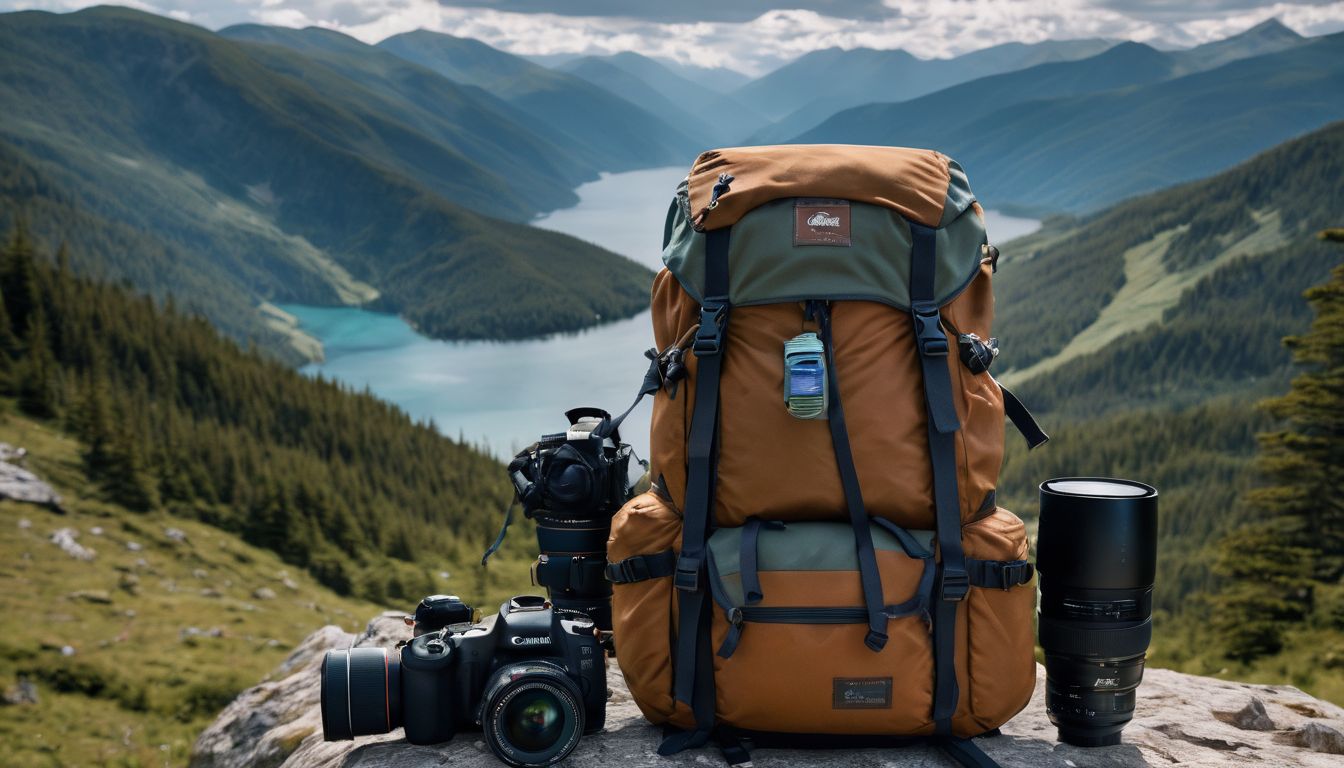
- Efficiently arrange your photography equipment in the rucksack by balancing weight distribution, organizing frequently used items for quick access, and integrating hydration systems if necessary.
The Essentials of Camera Gear Organization
Disassembling and protective wrapping are essential for safe packing, especially when dealing with delicate camera gear. This section will provide detailed tips on how to pack your equipment securely and efficiently.
Disassembling Equipment for Safe Packing
Packing photography gear right is key to keeping it safe on the go. Taking apart your camera and parts helps prevent damage.
- Turn off your camera and take out the battery, memory cards, and lens. This keeps your settings safe and avoids accidental power-ons which can harm your gear.
- Use lens caps to cover both ends of your lenses. Caps protect the glass from scratches and dust.
- If you have a DSLR camera, detach the lens from the body. Mirrorless cameras also need this care.
- Store each item in separate padded cases or sleeves. Camera bodies and lenses stay secure this way.
- Place silica gel packs with your gear to keep moisture away. Dry equipment means less chance of rust or mold.
- Wrap flash units in soft material before tucking them into pockets of your camera bag. This guards against bumps during travel.
- Keep small bits like batteries and memory cards in clear bags or organizers inside your rucksack. You’ll find things faster without digging around.
- Secure tripod legs with straps or within a special compartment if your rucksack has one. It’s better than carrying it loose.
Protective Wrapping for Each Component
After you’ve taken apart your camera gear, it’s time to focus on wrapping each part. This keeps your equipment safe from harm and ready for travel.
- Use Padded Wraps: Buy special padded wraps made for cameras and lenses. These wraps cushion your gear, keeping scratches, dust, and little bumps away.
- Soft Cloths Work Too: If you don’t have padded wraps, use soft cloths like microfiber towels. Fold them around each piece of gear for a snug fit.
- Lens Protection Is Key: Always give extra care to your lenses. Use thick, soft padding to cover them completely.
- Secure with Tape or Bands: After wrapping, use tape or rubber bands so the protection stays in place. But make sure it’s not too tight!
- Label Each Wrap: Write what’s inside on a tag or sticky note. This helps you find stuff fast without unwrapping everything.
- Check for Cushioning: Before putting wrapped items in your bag, gently shake them. If you hear moving parts, add more padding.
- Keep It Tight but Not Crushed: Arrange the wrapped pieces neatly in your bag. They should fit snugly so they don’t tumble around.
Choosing the Right Rucksack for Your Camera Gear
When it comes to selecting the perfect rucksack for your photography equipment, it’s essential to consider features such as adjustable compartments, padded dividers, and durable construction.
The right backpack will provide the necessary protection and organization for your gear while allowing easy access during photo shoots.
Features to Look for in a Photography Backpack
A good photography backpack keeps your camera and lenses safe. Look for a bag with thick padding, weather resistance, and sturdy zippers to protect against drops and rain. Special spots for each piece of your gear help prevent scratches or damage.
A backpack with adjustable dividers gives you control over the layout. This lets you fit different cameras and lenses snugly.
Comfort matters too because you might wear your pack for hours. Padded straps ease shoulder strain while a waist strap helps balance the load. For style points, choose a bag that looks good on you and matches how you shoot photos – whether in nature or in busy streets.
Next up, think about ways to organize the inside of your rucksack so everything is easy to find.
Recommended Backpack Inserts and Organizers
When choosing backpack inserts and organizers for your photography gear, consider the following options to keep your equipment safe and organized:
- Camera Bag Inserts: Look for customizable foam dividers that allow you to create compartments tailored to your specific gear, ensuring a snug and secure fit for each item.
- Padded Dividers: Opt for padded inserts with adjustable partitions to protect delicate lenses and camera bodies from colliding during transit, minimizing the risk of damage.
- Lens Cases: Invest in individual padded cases for lenses to provide additional protection and organization within your backpack, preventing scratches or impacts.
- Memory Card Organizers: Use compact cases or pouches designed specifically for storing memory cards, ensuring they are securely stowed and easily accessible when needed.
- Cable Management Pouches: Choose pouches or organizers with elastic loops or pockets to neatly store cables, chargers, and other accessories, preventing tangles and simplifying access.
- Weatherproof Covers: Consider adding a weatherproof cover or dry bag as an insert to provide an extra layer of protection against rain or moisture during outdoor excursions.
- Modular Inserts: Explore modular insert systems that allow you to customize the layout of your backpack according to your evolving photography needs, promoting flexibility and efficiency.
Efficiently Arranging Your Photography Equipment
Efficiently arranging your photography equipment is crucial for a successful photo shoot. Balancing weight distribution, ensuring quick access to frequently used items, and integrating hydration systems in rucksack packing are key factors to consider.
Balancing Weight Distribution
Proper weight distribution is crucial for comfortable and efficient carrying of photography equipment. Here are some tips to help you achieve balanced weight distribution in your rucksack:
- Customize the compartments in your camera bag to evenly distribute weight and keep your gear organized.
- Consider using a bodypack instead of a backpack to shift some of the load to the front, improving weight distribution.
- Arrange your camera gear in a way that places heavier items closer to your back, distributing weight evenly across your body.
- Opt for a well-designed camera bag with features specifically aimed at balancing weight distribution, especially for backpack-style bags carrying heavy camera gear.
- Carefully pack your bag, ensuring that weight is evenly distributed and doesn’t put strain on any particular part of your body.
- Invest in a backpack with adjustable straps and padding that can be customized to fit your body comfortably while maintaining balanced weight distribution.
Quick Access to Frequently Used Items
Efficient packing of photography gear organizes frequently used items for quick access. This ensures that essential equipment can be easily reached when needed most.
- Place frequently used lenses or accessories in designated pockets or compartments within the rucksack.
- Prioritize quick access for memory cards, spare batteries, lens filters, and lens cloths by positioning them in easily reachable areas.
- Utilize modular inserts to create dedicated spaces for specific gear, such as a separate compartment for your camera body and primary lens.
- Consider the layout of your rucksack to ensure that you can quickly grab and stow items without having to unpack everything.
- Use color – coded pouches or cases to distinguish between various accessories, making it easier to spot and retrieve the right item when time is of the essence.
Integrating Hydration Systems in Rucksack Packing
When you’re out capturing your best shots, it’s crucial to stay hydrated. A backpack with a built-in hydration system offers the perfect solution for photographers who are always on the move.
Look for a camera backpack that is compatible with a hydration system, ensuring easy access to water while keeping your hands free for photography equipment.
Backpacks designed specifically for photographers often come equipped with compartments that fit water bladders and tubes, allowing seamless integration of hydration systems into rucksack packing.
Additional Packing Tips for Photographers
Utilizing silica gel for moisture control and securing gear during transit are essential packing tips for photographers. These simple yet effective practices can help protect your valuable equipment and ensure a successful photo shoot.
Utilizing Silica Gel for Moisture Control
Silica gel packets are a practical solution to protect your photography equipment from moisture and humidity. By placing silica gel packets in your rucksack, you can prevent rusting and damage caused by excessive dampness during travel.
These desiccants work effectively to absorb any moisture that might otherwise harm your camera gear. As an added benefit, silica gel is commonly used at the industrial level for its water-absorbing properties, making it a reliable choice for protecting sensitive equipment like cameras.
When packing your photography gear, consider including silica gel packets in strategic locations within your rucksack to ensure optimal moisture control throughout your travels. This simple addition can go a long way in safeguarding your valuable equipment from potential damage due to humidity.
Securing Gear During Transit
After ensuring moisture control with silica gel, it’s important to secure your gear during transit. This helps in preventing any damage and ensures all your equipment stays safe throughout the journey. Here are some essential methods for securing your photography gear during transit:
- Use padded dividers or inserts within the backpack to create snug compartments for each piece of equipment, preventing them from shifting during travel.
- Invest in sturdy and reliable camera straps to secure your camera while on the move, reducing the risk of accidental drops or damage.
- Employ cable ties or Velcro straps to organize and secure cables, chargers, and other accessories, minimizing tangles and potential damage.
- Utilize lens bags or pouches to provide extra protection for individual lenses, safeguarding them from scratches and impacts.
- Opt for a backpack with lockable zippers or security features to deter theft and keep your gear safe in crowded or public spaces.
- Consider using a TSA – approved luggage lock on your camera bag for added security when traveling through airports, particularly if you need to stow it in overhead compartments.
- Pack a compact but sturdy tripod securely within the backpack using straps or dedicated pockets, ensuring it doesn’t shift or protrude during transit.
- Place delicate items such as memory cards and filters in protective cases or pouches within the backpack to prevent damage from jostling or impact.
- Finally, label your photography backpack with contact information in case it gets misplaced during travel, increasing the chances of recovery if lost.
Conclusion: Optimizing Your Photography Packing Strategy
In conclusion, efficient rucksack packing for your photography equipment is crucial for easy access and gear protection. By disassembling the components and wrapping them securely, you ensure their safety during travel.
Choose a suitable backpack with features that cater to photography gear organization and weight distribution. Arrange your equipment thoughtfully in the backpack to balance the weight and enable quick access to frequently used items.
Additionally, consider utilizing silica gel for moisture control and securing your gear during transit. These practical tips will make your photo shoots more seamless and enjoyable while ensuring your equipment stays protected on all your photographic adventures!
For more detailed guidance on incorporating hydration systems into your photography adventures, check out our comprehensive guide here.
FAQs
1. What should I put in my rucksack to keep my camera safe?
Pack your camera in a waterproof bag or rucksack with a rain cover. Use padding around the camera for extra protection.
2. Can I carry all my photography gear in one bag?
Yes, pick a large backpack or a suitcase designed for digital SLRs and lenses. Make sure it has pockets for small items like your memory cards.
3. How do I pack my rucksack for quick access during photo shoots?
Use sling bags, waistpacks, or holsters so you can get to your gear fast. Keep often-used items like zooms and secondary lenses within easy reach.
4. Is there a special way to pack different types of cameras?
Yes! Pack compact cameras securely with padding and APS-C or wide-angle lenses separately. For larger view cameras, use sturdy cases.
5. What non-camera items should go into my rucksack when going on a photo shoot?
Pack essentials like batteries, headlamps if shooting in dark places, and photo editing tools like laptops or tablets if you need them right away.